In this modern era of all updated devices and technology, Videoconferencing becomes one of the most favorable means by the Company’s authority to connect the employee working from home.
However, videoconferencing for personal or official purposes through Skype, Zoom, or Microsoft Team needs an external webcam (If your Laptop doesn’t have an inbuilt webcam) adequately installed on your Windows 10.
Here we are gonna cover how to Use External Webcam on Laptop Windows 10 so that you don’t have any chance to miss your videoconference.
Before starting the main discussion, let see the shortlist of all process steps for our today’s setting process-
The webcam has no USB port:
- Connect the Webcam to your Laptop
- Set the Wireless Feature
- Disconnect the Ethernet Cable
- Check the Video Streaming
The webcam has USB port:
- Connect the Webcam to your laptop
- Download Webcam Software
- Check the Video Streaming
How to Use External Webcam on Laptop Windows 10:
If any laptop doesn’t feature a USB port, you need to set the webcam wirelessly. You need a built-in Wi-Fi setting to connect the webcam wirelessly. Again, laptop having a USB port need a different setting process to connect the webcam on Windows 10.
So, let’s see how to connect the webcam on the Laptop wirelessly-
Connect the Webcam to your laptop:
Use an Ethernet Cable to connect the webcam with the Router. It is mandatory to set the configuration of your webcam. Once you set the webcam successfully on your Laptop, you don’t need to keep the cable anymore.
Set the Wireless Feature:
Suppose you have connected your webcam to the Router, ow its turn to configure your Camera. Go to Home/Office Wi-Fi Network Setting and set the Wireless Features of your webcam. This selection process will ask you about the security key & SSID of your Wi-Fi network. So, follow the on-screen instructions, which might come according to the webcam model.
Disconnect the Ethernet Cable:
Now disconnect your Ethereal Cable from the Router. And disconnect your webcam as well. Once you have disconnected both the webcam and the cable, let your webcam connect automatically with the Wi-Fi network.
Check the Video Streaming:
Now check the video streaming to know how it is connected.
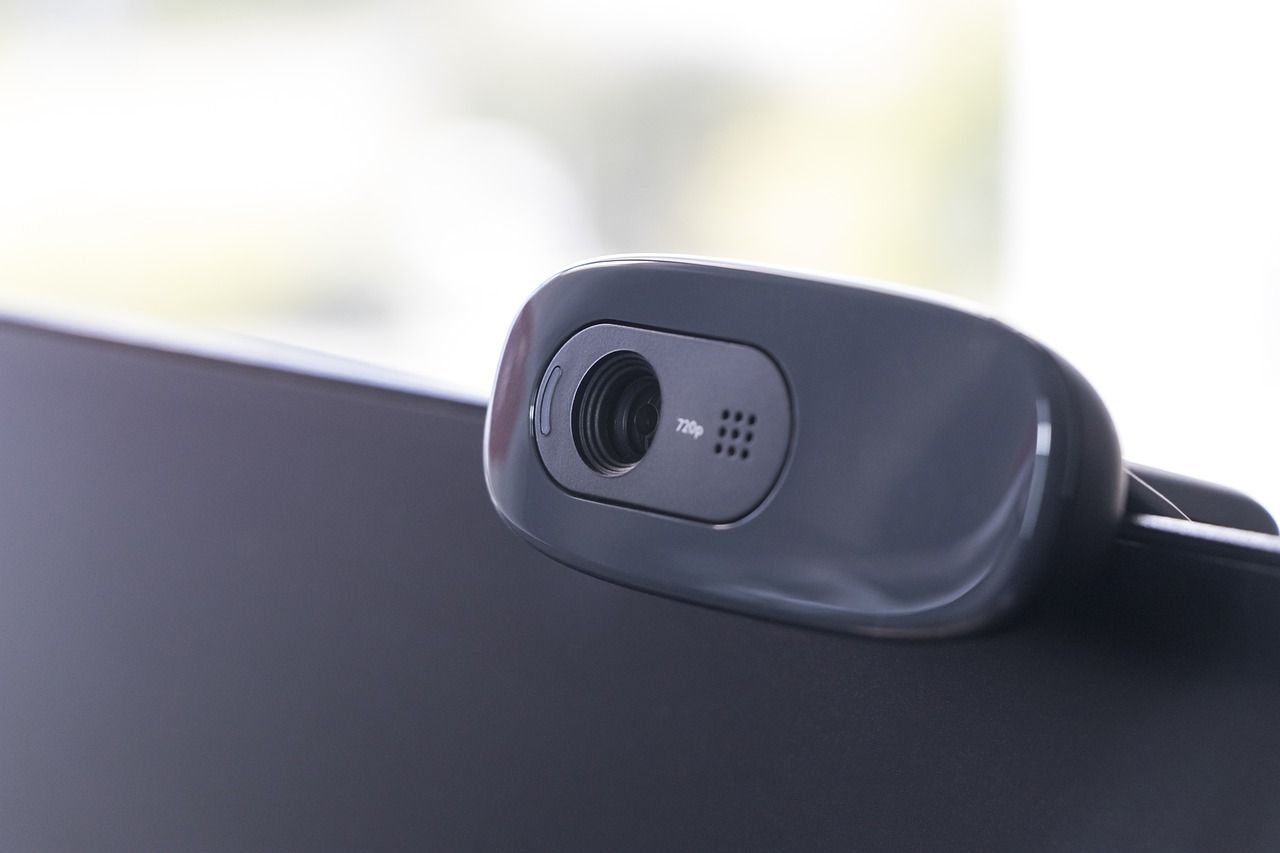
The webcam has a USB port, need to follow the below instructions to connect with the Laptop-
Connect the Webcam to your laptop:
At first, connect the USB cable of the webcam to the USB port of your Laptop. Correctly insert the line on the port. An improper connection of the USB cable can damage your port, so carefully insert the cable in the correct orientation.
Download Webcam Software:
Insert the CD on the CD Tray and install the Webcam Software. If your webcam doesn’t have a CD Player by chance, go for the Company’s website and find the Software & Driver to install the apps.
However, you can wait to come to the start-up page. If your webcam doesn’t have a start-up CD, that means it may feature to start automatically. (Plug-and-Play model).
Follow All On-Screen instructions. Press on Install Button by going to the Preference & Setting button of your webcam.
Check the Video Streaming:
Once you install the webcam on your Laptop, now check the video streaming.
How to open your webcam on your Laptop?
Select the Start Button. There will be a couple of lists of the apps; select the Camera from that list. Now your webcam is ready for use with your laptop windows 10 OS.
However, you can use this webcam with other apps as well. In that case, again select the Start Button, then select Setting, then Privacy. Finally, select the Camera. And to hook up your Camera with other apps, eventually, turn on- “Lets Apps Use My Camera”. And now select the apps where you want to use your Camera.
What Should I do if my Camera is not working on my Windows 10?
If, despite a correct setting of the webcam on your Laptop, if still, your Camera doesn’t work on your Laptop, you can do some preliminary corrective issues to cover your Camera come back.
At first, update your windows. Go to the Start button, select the Setting, then Update & Security, then Windows Update, and finally Check for Updates. If there are any updates for your newly installed webcam, updates them accordingly.
Once you have covered all the updates, restart your Laptop. Restart your device and wait until it opens completely.
So, whether your Camera is working correctly or not, you have to check it now. And also, see the compatibility of your camera with the camera app. Go for the Start menu, select the camera option. If you need to choose the accessibility to your Camera, fix it.
If the Camera is still not working with your camera apps, you may have some other problems with your Laptop. You may have a problem with other apps with which you are trying to use your camera app. So, you can stop this option to get back your camera app.
Secondly, when you give a recent update of your windows 10, your OS may miss giving your camera app permission to use your camera. In newer Windows 10, you might not get this permission at a default position. So, go to Start, then Settings, then Privacy, and then Camera. Finally, select the “Allow Access to the Camera on The Device” button. If you find your Camera Access is turned off, turn on “Camera Access for The Device.”
Also, check your Antivirus Software. If you find your camera access has been blocked here to work with your Camera, take proper action to re-block it by communicating with the Software Websites Company.
You can also check your Hardware Drivers. Use a different USB cable Port. However, go for Scan for Hardware Changes option from the Device Manager menu. Let your Laptop Scan & Updates all Drivers. Again, Restart Your Laptop, Open the Camera App finally.
Frequently Asked Questions (FAQs):
Does all webcam are compatible with Windows 10?
Not at all. Still, some older webcam features an older design for the Laptop or PC with a backdated /older model. Those older designed webcams might not be compatible with your windows 10 OS.
When my webcam cannot work with my Windows 10?
There are several reasons. For example, your driver might need an update, your antivirus apps might block the apps, or even your privacy setting has stopped it. Finally, you also need to check other apps, which you turn on to use along with your camera apps. Or You may have an old designed webcam which is not compatible with your recent Laptop.
Final Verdict:
The real things are, setting the webcam on your Windows 10 is not any challenging task. And once you have read this entire article, you now know how to use an external webcam on a laptop Windows 10.
So, no more worry about covering your webcam to catch your dearest one through skype.
Thank you.