Putting a camera on over a tripod, it may seem a haphazard way if you don’t know the orderly settings of it.
Sometimes it may seem a matter of little bit of wondering how the adjustment procedure could be accomplished in such an accurate way!
However, you need to follow some step by step procedures to finish the setting procedure successfully. Finally, you could enjoy a stable placing of your camera upper from the ground level to take the sharpest image.
Though a tripod is a piece of simple equipment, there are some trips and tics by applying which you can enjoy an optimal positioning of your camera on the tripod.
Without further introduction, let’s go for the details of How to put a camera on a tripod. Hopefully, this guideline will tell you everything you should know-
Six Steps to Positioning your Camera onto the Tripod:
1. Decide the Location:
- Select the place where you want to capture your image.
- Be sure there you have a workable backdrop.
- Select the photo direction.
2. Prepare your Camera:
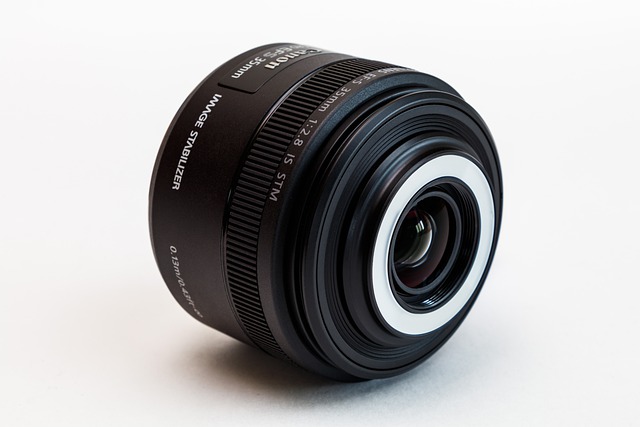
- Start by turning off the Image Stabilization function. See the shutter speed and the background light. Slow shutter speed and low background lighting will demand using a tripod for your camera.
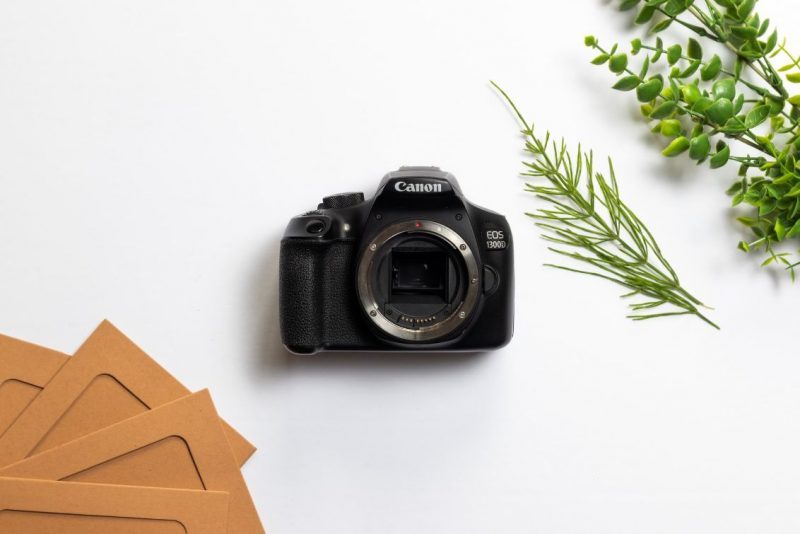
- Find the tripod mounting point on the bottom of your camera. It is a mounting hole, usually measuring ¼ inch diameter.
- It is noted for you that small cameras owned ¼-20 UNC threads, and the larger one may measure 3/8-16 UNC.
3. Prepare your Tripod:
- Place the tripod on a flat surface.
- Press the Quick Release Button to unlock your camera plate from the tripod.
- Carefully observe whether the camera plate and the tripod have the same size screw or not. Not all camera plates and tripod featuring the same screw always. Therefore you need to make both of them the same.
- If your existing camera plate contains a different screw from your tripod, buy a new camera plate which can adjust both your camera and tripod correctly.
4. Level the Tripod:
Before leveling your tripod, you have to know how much you have to level your tripod accurately. For a usual single shot, the leveling of the tripod may not be mandatory all time. However, it is necessary for any panoramic shot.
- Adjust all the tripod leg to make a stable position of it.
- Release the Leg Tensions to arrange the tripod.
- Extend the legs if it needs.
- Securely locked the tripod legs before putting the camera onto it.
- See the bubble level of your tripod; if your tripod leveled adequately, the bubble becomes stabilized and leveled.
- If you do not have a bubble point at your tripod, you can include a small level to leveling the tripod.
5. Adjust the Camera on the Tripod:
Now it is the turn to adjusting your camera on your tripod.
- If you need to screw the camera onto the tripod directly, clamp your camera onto the tripod and twist both of them to make a sturdy mounting of the camera.
- Sometimes your camera plate may contain an Underneath Screw-Head System. In that case, instead of twisting the plate, tight the screw-head (from the underneath of your tripod) towards the camera.
- Some tripods may feature a clamping mechanism instead of screwing the camera onto the camera base plate. However, in that case, place your camera firmly within the clamps.
- After then, go for tightening the screw or twist the knob to fit the camera within the clamps.
- Whatever the connection processes it, make sure you have made it snug. An over tighten screwing can prematurely damage both your camera and tripod.
- If you need to remove the mounting plate for correctly setting the camera, don’t forget to re-attach the plate again on your tripod. Pulling back the Quick Release Lever will help you to mount your camera plate on the tripod accurately.
- Once you re-placed the plate. Release the lever and let it stay as it is.
- Finally, lock the release bar if your camera includes this. After then fix the camera angle to capture the image.
6. Click your iImage!
- Now you can move the rig of your tripod for any perfect shot.
- Make sure the camera lens is angled precisely before a shot.
Tips to Make a Successful Mounting of the Camera on the Tripod:
- Be sure both the tripod and the camera plate go with each other. If you face any difficulty in fitting the camera plate onto the tripod, there may due to you have a base plate with different screw size with your tripod. So select a correct camera plate for your tripod.
- Make the tripod steady and level. If, after doing all the tricks, still your ground is unsteady, hang your camera bag at the bottom hanger of the tripod.
- If still, it gives you a silly vibration, hangs more massy items at the center hanger/column of your tripod. If you do so, hopefully, you will able to reduce the tripod shaking to make it perfectly stable.
- Generally, a tripod package should contain two parts nowadays; Tripod leg and tripod head. However, if you cannot find these two parts in one box, please collect both of them separately.
A tripod without its head will not allow your camera to move around when you need it.
Frequently Asked Questions (FAQs):
FAQ-One: Tell me a minimum shutter speed, below of which I need to use a tripod.
Answer: The minimum shutter speed is 1/500th second, below of which you need to use a tripod to capture the target objects.
FAQ-Two: Does a tripod is mandatory?
Answer: I was expecting the question as, exactly when a tripod is required! However, your answer is yes; you need a tripod mandatorily.
Taking a close-up shot, clicking the image with a lower shutter image with a darker background, doing nature photography, you will need a tripod to make you more flexible.
Tripods also can help you if you want to use a telephoto lens on your camera. Capturing any short time stunning moments is effectively possible using the tripod.
Final Verdict:
So this is all about How to put a camera on a tripod. If you have finished reading this entire article, I am sure you are now an expert to set your camera on the tripod very quickly.
What do you think? Am I right?
However, Use a tripod; capture the sharpest image for your photography.