The belt provided with the Canon DSLR is not only for extra security but also adds a lot of conveniences. However, most of the time, we overlook fastening it correctly, which defeats the purpose of attaching it in the first place.
If you are newly into photography, after buying the rig, the first thing you need to learn attaching strap to your Canon camera properly. Not a knot-tying expert? Well, you don’t have to be. With my step-by-step tutorial, you can easily master it too.
So, how to attach Canon camera strap?
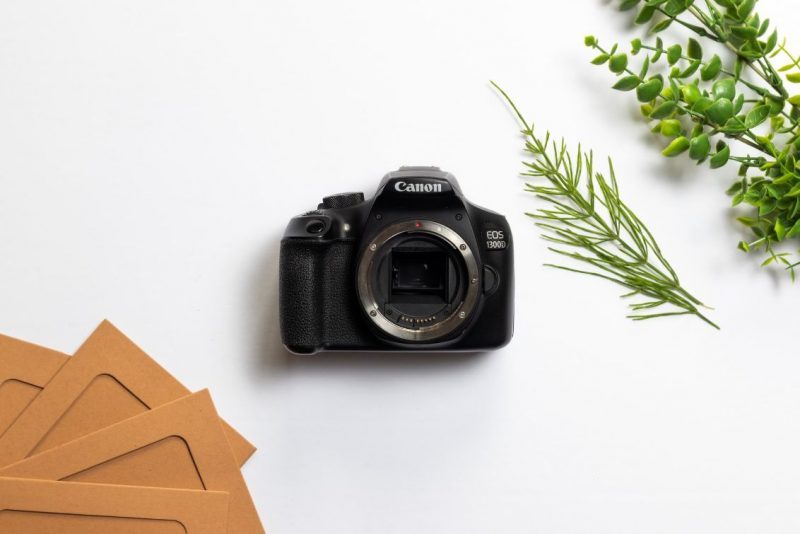
You will find two strap mount eyelets placed on the upper left and right sides of the rig. Your goal is to tie up the left side of the belt to the left mount eyelet and the right side of the belt to the right mount eyelet. Let’s walk you through the step-by-step process in this article below.
Why Should You Use Camera Belt?
Before jumping into how you should attach the belt, let’s see what are the benefits you’re going to enjoy compared to going strapless.
Convenience: Let’s face it. You’ll be needing to change the lenses quite frequently while shooting. Keeping your rig strapped around your neck will allow you to do it faster as it will hang right in front of you.
Sometimes you might need to use your hands for some other purpose than taking pictures. So, go hands-free whenever you need to keep the straps on.
Drop-proof: No matter how cautious you are, a belt always gives that extra security and peace of mind. While shooting at a risky location, I keep it around my neck even if it’s set on a tripod.
Again, it will keep your precious rig safe from unintentional knocks. If you’re into street photography, keep the straps attached. Otherwise, there’s a high chance of getting pushed by the crowd accidentally and dropping your camera.
So, as you can see, tons of advantages come with the camera strap. Even if you are shooting with multiple cameras, it will just make your capturing experience a lot easier.
How To Attach Canon Camera Strap?
Often, we don’t take fastening straps seriously. If you’re doing it wrong, there’s a high chance it might fall and cause you a disaster.
Are you wondering then how do I attach a Canon neck strap? Well, here is how to do it right. Take a look.
- Can you see the little black plastic piece that slides forward and backward? Remove that. Don’t lose it. Keep it aside. We will use that later.
- In this step, you need to undo the buckle which is bigger than the slider piece and has the Canon embezzlement. Now loosen the belt around the buckle and make a loop. Pull the end of the fabric piece out from the middle bar. Fully untangle it.
- Now that the belt is like one straight long piece of fabric, put the little slider back on which you removed in the first step.
- Feed the belt through the mounting eyelet on the camera.
- Pull the end through the little slider piece. Move the slider close to the camera.
- Now you need to put the end piece under and over the middle bar of the buckle. For that, you need to make a loop on the upper portion again. The loose end of the belt goes under the loop you just created and over the middle bar. Pull it through the outside opening of the buckle at the bottom.
- Repeat steps 1 to 6 for the other side.
Ta-da! There you have a nicely secured belt tied up with your rig. This is not the only way, but it is undoubtedly the best way I have come across so far.
Now you may ask, how do I attach the strap to my Canon T6? Well, it’s the same way I have described above.
What Is The Rubber Thing On Canon Strap?
Ever wondered why there is a rubber piece with the belt that comes with your Canon rig? If you haven’t noticed yet, let me tell you the red and black craftmanship belt from Canon has a rubber thingy connected with it.
You can also see Canon written on it. Up until now, if you thought that thing was only there for decorative purposes then sorry to burst your bubble, it has a function too.
When you’re using a self-timer or a remote switch, you can use it to cover your viewfinder to prevent light from leaking into it. However, before using it, you need to remove the eyecup from the viewfinder. Slip the rubber eye cover over the viewfinder, and you’re good to go.
Some Alternatives To Neck Strap
Don’t want to carry your camera around the neck? No problem. Here are all the other things you can use instead:
Hand Strap
Hand-straps are far safer than going strapless. It brings that extra stability and comfort so you can capture the perfect moment. But for long time use, it can cause strain as you’ll be carrying the whole weight of the camera the entire time.
How to attach hand strap to Canon camera, you wonder?
Feed the top end of the hand-strap and feed it through the mounting point on top of your camera. Thread it through the plastic buckle and pull it tight. Repeat this for the bottom of your camera. Tuck any loose end underneath the fabric and you’re done.
Harness
While carrying multiple rigs dual camera strap can get tangled. In that case, a harness can effortlessly hold them and distribute their weight evenly. So, if you need to switch between two cameras while shooting go for it.
Holster Case
Another nice alternative to work with two rigs at the same time. If you’re working with a single device you can simply drop it into the case when you need to go hands-free. Also, it has a padded belt to carry it around and a pocket for extra batteries and SD cards.
Frequently Asked Questions (FAQs):
How long is a Canon camera strap?
The Canon Pro neck belt is 50 inches long which makes it perfect to wear across the body and capture comfortably.
How to attach camera strap Canon Powershot SX530?
The strap that comes with this model can be tied with the camera following the steps I’ve mentioned above. Go ahead and give it a try.
How to attach camera strap Canon Powershot elph 180?
The strap-mount given in the Canon Powershot elph 180 is kind of narrow and most people find it difficult to feed the small end of the strap. You can use a dental floss for that. Trust me it works like a magic. Just take a piece of dental floss and feed through the smaller loop. Take the two ends of the floss and twist them a bit. Now feed it through the mount and with the floss the small loop will enter into the mount. Pull the large loop through this loop and tighten the knot.
The Bottom Line
No matter which belt system you choose, make sure your camera is nicely fastened and always secured. Now that you know how to attach Canon camera strap, tying it won’t be a problem. It’s better to be safe than facing fatal camera mishaps. Wishing you happy and safe clicking.


