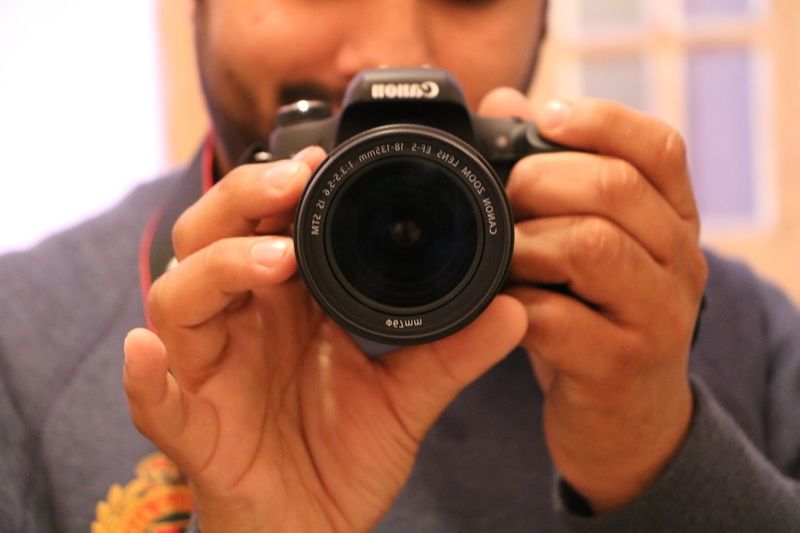
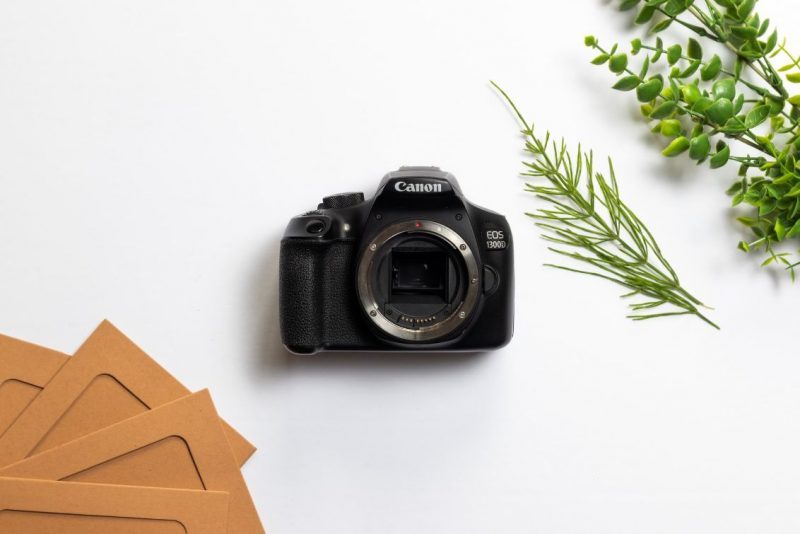
The excellent news is Canon recently has started to provide a super service (camera as a webcam) with some of its DSLR & Mirrorless cameras on the Mac Operating System.
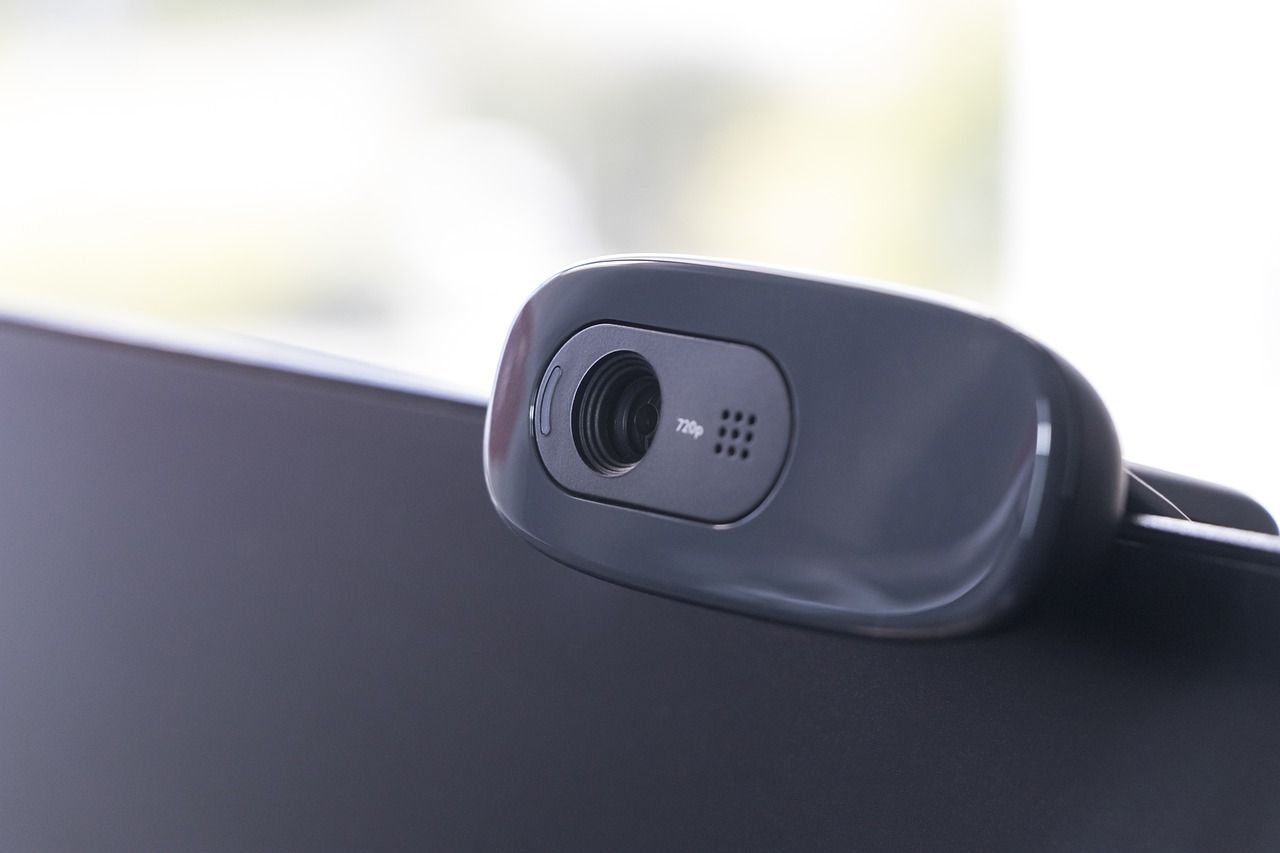
In the present situation, many companies, when turned towards Skype, Zoom for videoconference as working from home service, so it becomes mandatory to show you clear and good if you are attending a video conference.
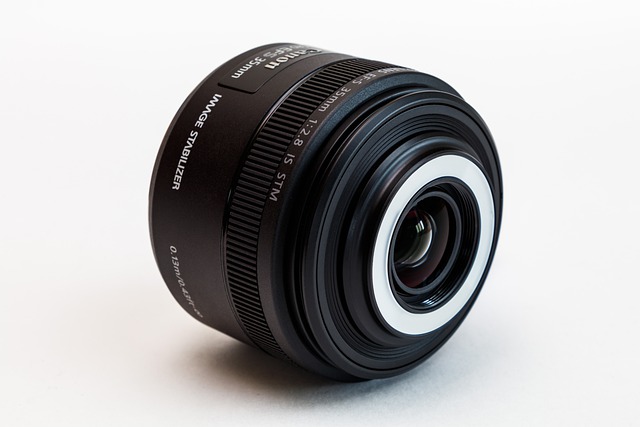
Canon already launched webcam software for the MACOS. This software makes you able to use the DSLR, Mirrorless; power Shot Cameras to use as a Webcam.
However, before you start using your Canon on your MACOS, you need to know how to connect the canon camera to MAC.
How to Connect Canon Camera to Mac as Webcam?
EOS Webcam Utility Beta is the responsible apps that make your MacOS capable of making your camera a webcam. Unlike the inbuilt webcam of your laptop, canons not only give you a high-resolution image at the time of videoconference. It also creates a larger & better image with a background adjustment mode. The user can also zoom the image, fit the image in a perfect background, and so on. However, let’s see the connection procedure of the canon camera at your MAC-
Download the Canon EOS Webcam Utility Beta:
- Go to Canon’s Dedicated Support page (to get the utility.)
- Select “Model Of your Canon”
- Select the “Drivers & Downloads’’ Option.
- Select the Software option
- Select MACOS Version
- Go to the next button and download ‘’EOS Webcam Utility Beta’’.
Install Canon EOS Webcam Utility Beta:
- At first double click on your Zip File to get the ‘’Package File’’.
- Again, Double Click on ‘’the Package File’’ to start the primary Installation Process.
- If any apps interfere with the installation process, click ‘Close Applications and Install.”
- After a successful installation process, click ‘’Restart’’.
How to Use Canon:
- Insert your USB Cable on to the Camera
- Connect this cable on your MAC
- Set your camera on Movie Mode (If available)
- Go to your Video Conferencing App Setting menu
- Select EOS Webcam Utility Beta (Webcam Source List)
However, if EOS facing problem opens automatically- Go for Start Button, Select All Programs, and then EOS Utility for activating it on your MACOS. If you have MAC OS X version, select EOS Utility (Which is registered in the Dock) for further processing. If a message like, ‘’Welcome To iPhoto” comes, go for the ‘’Decide Later’ ’option. Again quite iPhoto if it comes at that time.
Final Verdict:
EOS Utility is the door that opens your dream world to catch your dearest one through videoconference. So you have a Mac operating system that doesn’t indicate you can’t expect a good image quality while making a Video conversation.
Finally, if you still feel any confusion regarding this connecting process, please see the Instruction manual provided with the Canon Camera.
Thank you