Recently one of my dearest friends was frustrated to share with me that, over the last six months, he needed a five-times cleaning of his Sony a7iii cam sensor without any proper reason!
Not only my friend, but many Sony users also may annoy to think that how could an image sensor get dirty so quickly! Wherefrom the dust and fiber can come, which later on accumulate on this sensor!
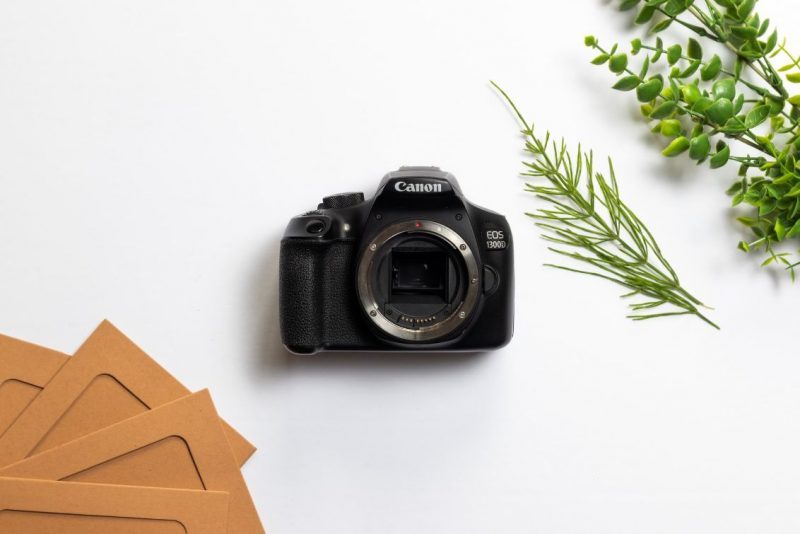
However, an opening or disclosing of the camera lens creates the chance of getting a contact of the external dust and fiber to the camera sensor.
So, dear readers, how to clean Sony a7iii sensor is my today’s topic. Let’s explain my theme for your wellbeing.
When you have to clean the sensor?
Do you need cleaning your camera sensor? So, what is the exact time to cleaning the sensor? How could you know your camera sensor is getting dirty?
Let’s get the answer to all those questions. It’s a tricky method all professional photographers apply to see the cleaning status of their camera. So, what is the trick?
At a larger aperture (smaller f-number), it may not be possible for you to detect the dirt on the captured image. Only if you see this image zooming 100 % at a big monitor, provably you going to face the dirt gunk on your picture.
However, when you need to set a lower aperture or a larger f-value, at that time, you will boldly come at each of your pictures to torment you to spoil your image!
The most disgusting fact is that dust accumulated on the precise lenses for Sony a7iii cannot be seen through the monitor or the viewfinder!
It only shows it up at the image. And sometimes, you might need to zoom the image to see if their dirt spot is showing or not.
If your image contains such a spot, you need to clean the sensor as early as possible.
Dirt sensor cleaning procedure:
At first, accumulate all cleaning items you need to clean your camera sensor. Cleaning off the dirt sensor will need a professional camera blower, a professional camera brush, a sensor Swab (new), and one Eclipse Fluid container.
1. Clean the surrounding area of the camera lens:
- Turn off your camera first.
- Use the camera brush and do a thorough cleaning of the exterior portion of your camera lens.
- Use a camera blower from a safe distance to remove all dust from the periphery of the camera lens.
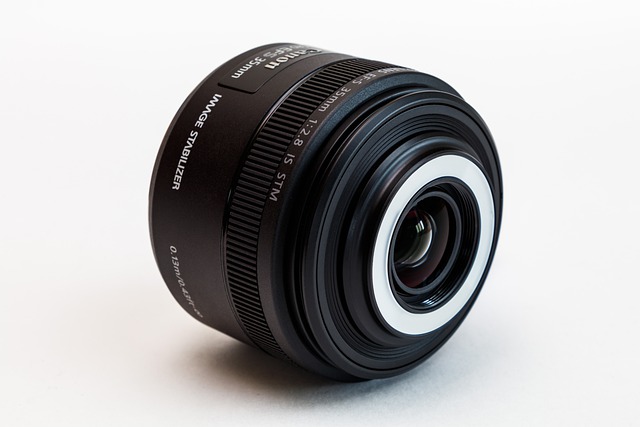
- Expose the camera lens by removing the front cap.
- Blow air again to remove all the superficial dirt adhering here.
- Re-attach the front cap onto the lens.
2. Set the cleaning mode and clean again:
- Turn on your camera.
- Go to the set-up menu.
- Select “Cleaning Mode.”
- Push enters to begin an auto cleaning process built in your camera.
3. Use the camera blower:
- If still, your sensor contains dirt adhering onto it, go for the next step.
- Turn off your camera.
- Use the camera blower to remove all dust and fiber away from your camera lens.
4. Clean through the sensor swabs applying Eclipse fluid on over the swabs:
- Apply two drops of the Eclipse liquid onto the swab.
- Wipe the sensor once only in one way.
- When one (left) side is done, swipe for another portion.
- Wipe the right portion by the unused side of your swap.
- If anyhow, you need to repeat the wiping process with this sensor swabs, do not reuse the swabs. Use a new one to repeat the cleaning process.
5. Recheck the cleaning:
- Release the shutter.
- Remove all cleaning ingredients.
- Take a shot at the same aperture and f-value where you have just taken the last previous shot.
- We suggest capturing a whiteboard or plain wall for an efficient result.
- See the difference between the image.
- If your newly captured image doesn’t visualize any spot mark onto it, it is appropriately cleaned.
- Zoom the image and be a hundred percent confirm about the cleaning.
Point to be noted:
- Do not reuse the swab.
- Do not handle the camera sensor while you are cleaning it. An accidental shocking at your camera may force you to buy a new camera.
- Be cautious not to scratch the camera sensor from your long nails. If you do so, a vast repairing bill is waiting to expanse from your moneybag.
- Blow air to your camera using the camera blower from a safe distance. If the tips of the blower accidentally hit the lens, it will damage it.
- Perform the whole cleaning procedure in a clean, enclosed area so that you could do the cleaning without facing any external dirt from the environment.
Frequently Asked Questions (FAQs):
FAQ-One: Can I use a soft dry cloth to clean my Sony 7iii sensor?
Answer: No, you can’t. Cleaning this sensor using a microfiber cloth or any industrial cleaning agents may enhance the possibility of hardware damage.
Moreover, sweeping through this way can peel off the coating of the sensor, which further may not able to capture a sharp image.
FAQ-Two: Should I use compressed air to blow the hard dust from the lens and surroundings?
Answer: Never. Only use a professional blower to blow the air on the lens.
FAQ-Three: Does the Eclipse fluid may harm the sensor?
Answer: Eclipse fluid is a safety product dispatch from the manufacturing factory after being passed by QC. Till now, we had not seen any user complains about the Eclipse fluid.
Final verdict:
It is a frustrating matter using the camera with dirt and a fuzzy sensor.
However, a camera sensor full of dust, fiber, and speaks usually happens, so you don’t need to worry at all.
As you could not avoid this universal photographic fact, better you know the detailed process and enjoy cleaning your camera sensor from next time.
So, this is all about how to clean Sony a7iii sensor. I have tried a bit to capture all the necessary steps in this article.